Choosing the Right Type of Roof Window
The first step in installing a roof window is selecting the right type for your needs and preferences. There are several types of roof windows available in the market, including fixed, manual, and electric venting skylights as well as top-hinged, center-pivot and side-hinged roof windows. Each one has its own unique functionalities and benefits such as increased natural light, better ventilation or comfortable access to the rooftop. Consider which qualities are most important to you when choosing a window for your roof and see how they match with your own installation needs.
Apart from type of roof window, there are other factors that should be considered when selecting an appropriate product for an installation project. These include size, design and material. To establish the correct size of this fitting consider the dimensions of your roof structure together with desired amount of natural illumination. The window design should fit into the general aesthetics of your home requiring attention to details like color, shape or style. Finally, a material may affect durability, maintenance aspects as well energy efficiency in terms of wood made out-products versus those made out of aluminum or polyvinyl chloride plastic (PVC). Keep these things in mind when choosing an ideal roofing window for your enterprise.
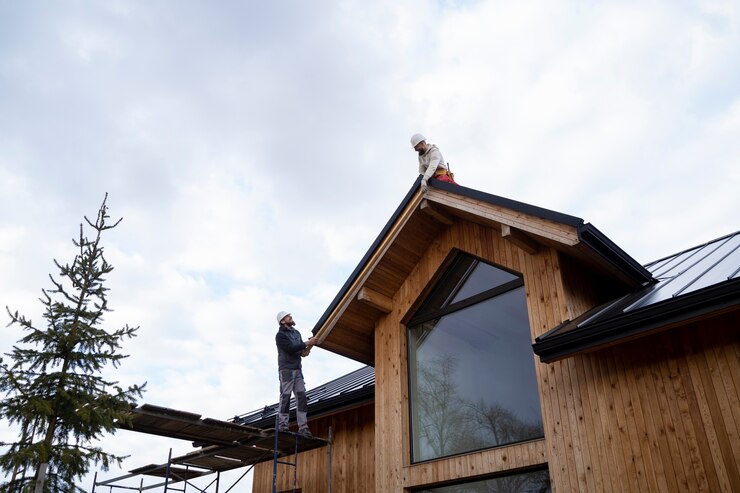
Before you start the installation process it is essential to examine your roof structure to determine whether it can support a roof window or not . Assessing the pitch , load bearing capacity , framing play very critical roles here . The slope influences on what kind of windows might be installed since specific ones are particular designed for certain types of roofs . Secondaly , make sure that roofs bear weight even if you add a new object upon them . Finally , it is also important to consider roof framing because its presence will affect installation process depending on whether additional support is needed or not . By carefully assessing all these factors about your roofing structure , you will be able to enjoy a successful and safe installation of your roof window.
Process of Installation
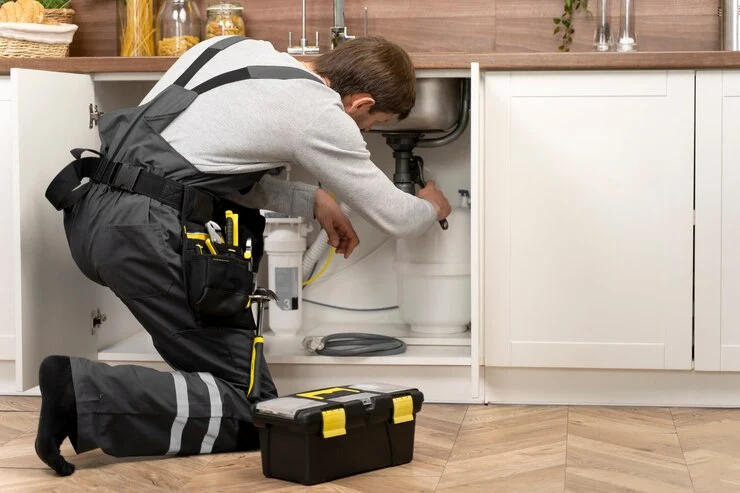
Before you start the process of installing it is important to gather all tools and materials that are necessary for an easy and fast installation of a roof window. Safety glasses, gloves, dust mask are basic safety wear required for this job . For this project , you will need a tape measure, circular saw, reciprocating saw and chalk line . This prepares your workspace before starting the installation making it safe and efficient .
With all tools and materials ready, the next step involves preparing the roof and cutting out an opening for the roof window. The exact location of the window should be determined first so that its both sides can be marked with chalk lines or screws. Before cutting out an opening on the rooftop you have to take accurate dimensions which should always be revisited again. Use a circular saw or reciprocating saw to cut through the roof following those chalk lines[8]. You have to remember removing screws once outline has been made on your rooftop.
After making the opening in the roof, the next thing is to anchor and seal the roof window for durability and effectiveness. To start with, have flashing inserted across the entire sill of the window as an initial line of defense against leakages. Put it in place when you are through with setting up the flashing and follow what they said in their manual to fix it. Lastly, seal around edges of your window and mount a sill flash while providing further protection from water intrusion[a] [3]. By following these steps keenly, one can be sure that a roof window will serve them well for a long period.